Install and Configure SQL Server
The installation steps describes how to install Microsoft SQL Server 2012
product version 11.00.3000.00 (SP1) on Microsoft Windows Server 2012
R2 Standard.
Note: Please note that you may have to use other versions
of SQL Server, such as Enterprise or Datacenter depending on your requirements
such as performance and cube features.
Note: The same settings and selections can be made for SQL Server 2014 and SQL Server 2016, but there may be small differences in the wizard.
Do note that the SQL Server Data Tools is a separate installation from SQL Server 2014 and the Management Tools is a separate installation from SQL Server 2016.
This installation guide is for the following base configuration:
- Microsoft Windows Server 2012 R2, Standard Edition 6.3.9600
Contents
- Download Microsoft SQL Server 2012 SP1
(11.00.3000.00)
- Run setup as Administrator.
SP1
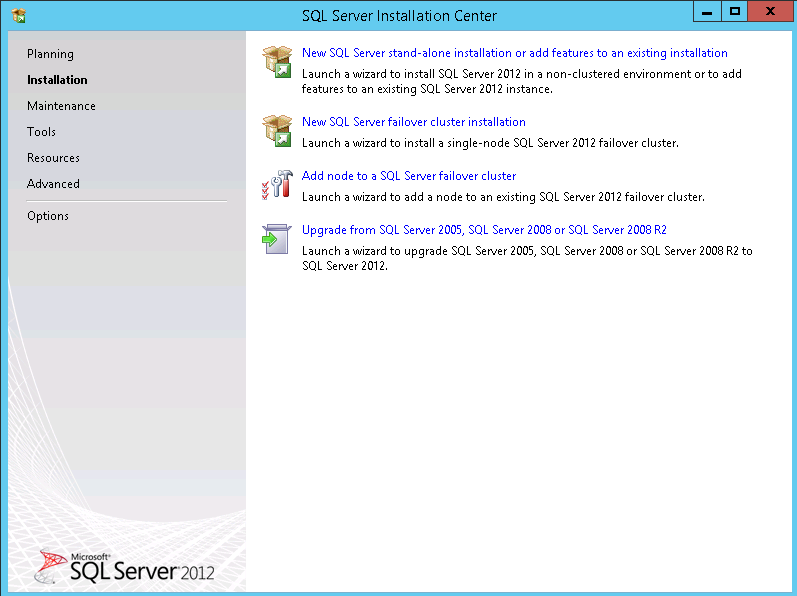
- Click Installation and then
New SQL Server stand-alone installation or add
features to an existing installation.
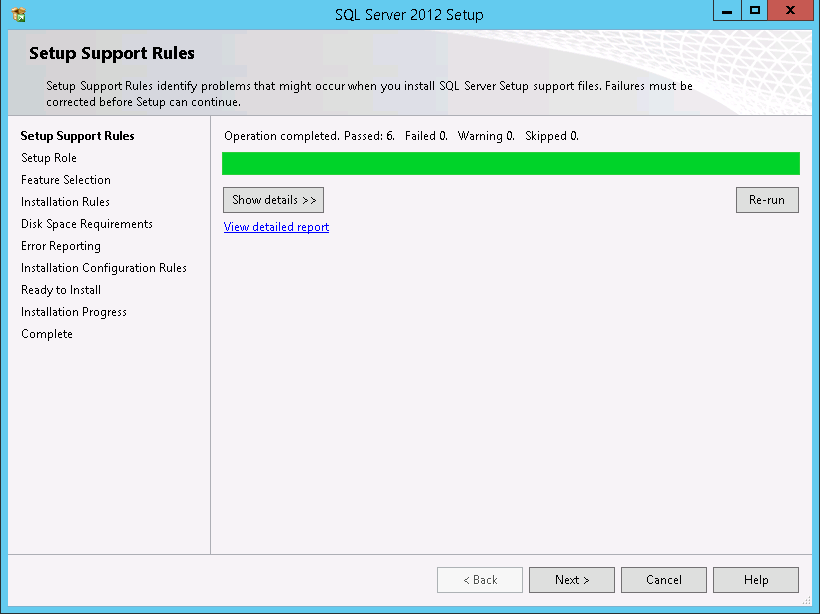
- Check the status of the setup support rules and click
OK
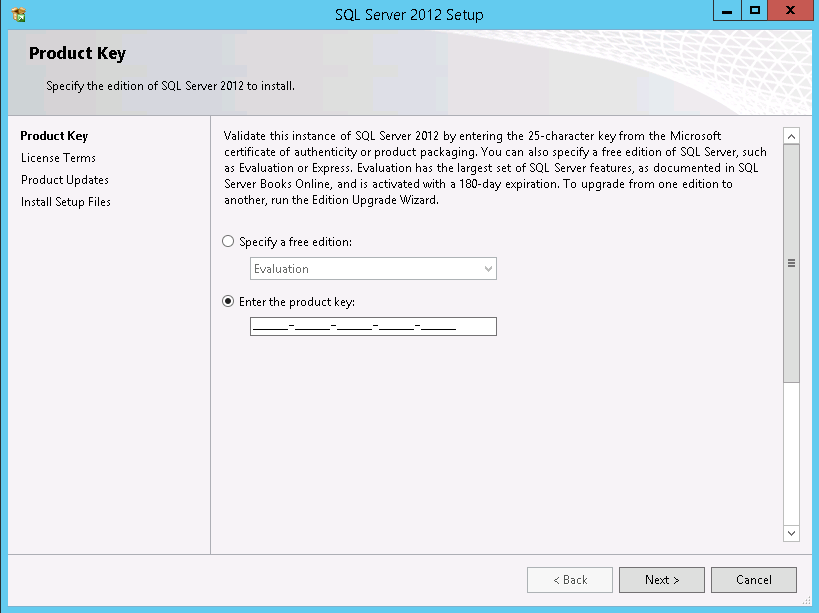
- Enter the product key and click Next
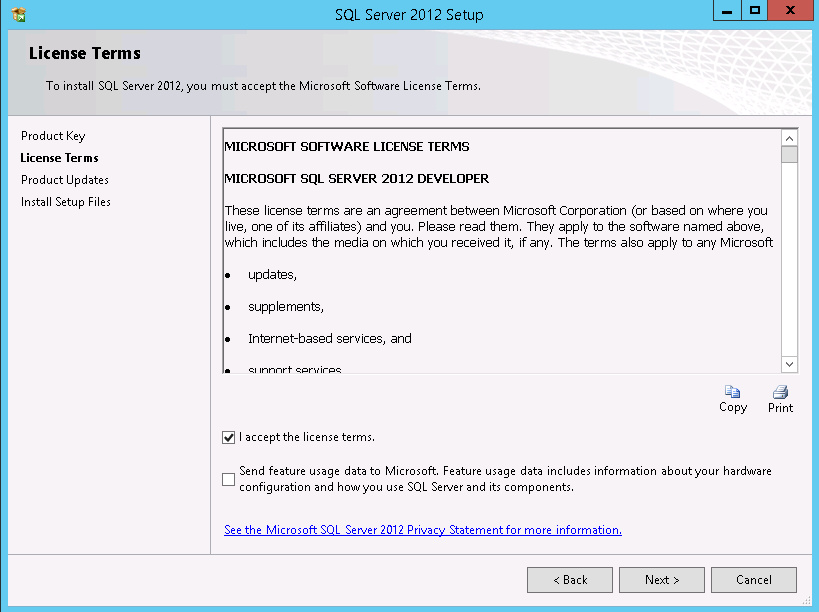
- Accept license terms and click Next
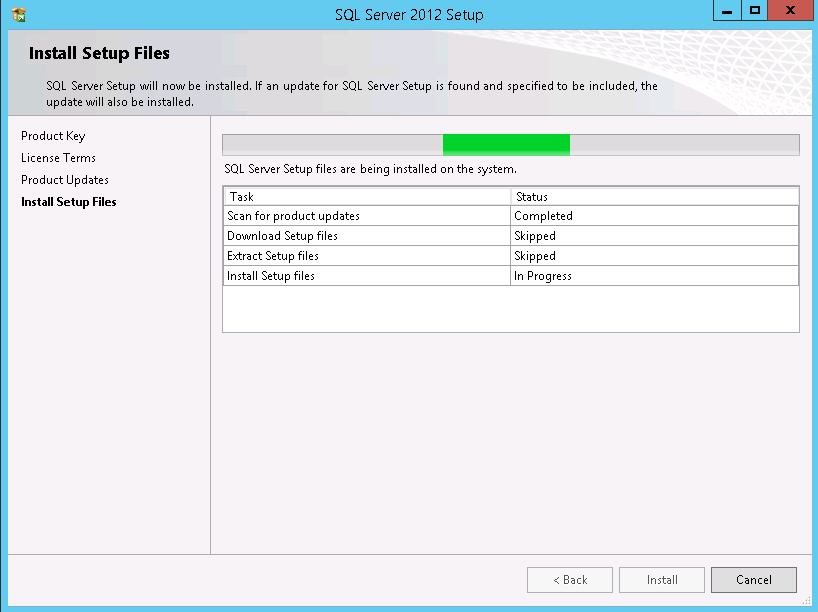
- Click Install
- Check the status for the setup support rules and click
Next
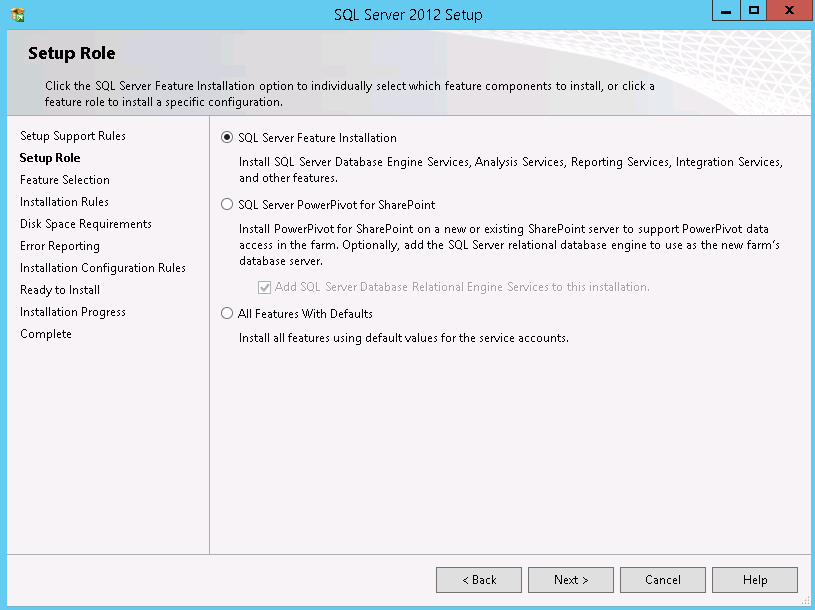
- Select SQL Server Feature Installation and click
Next
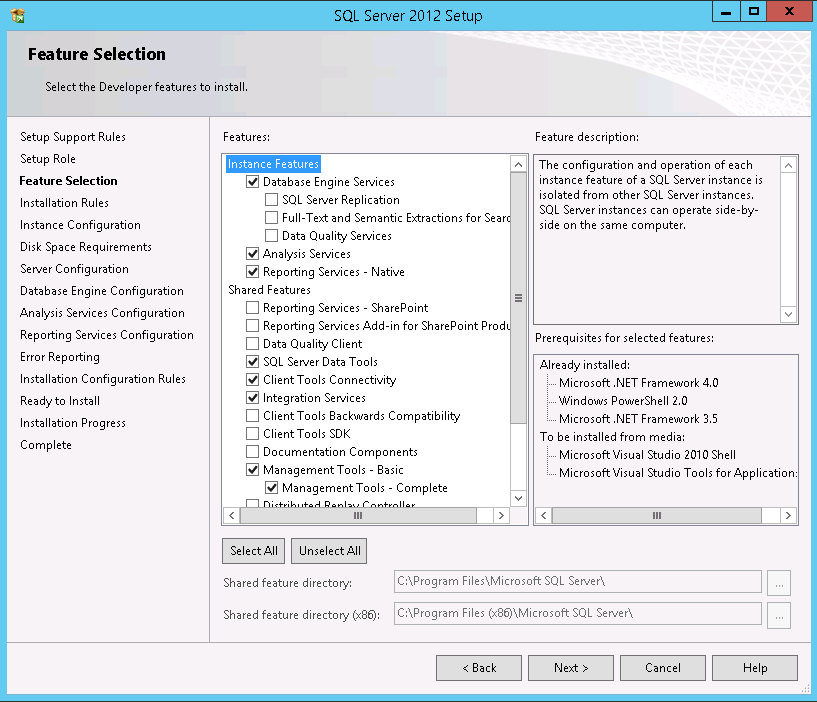
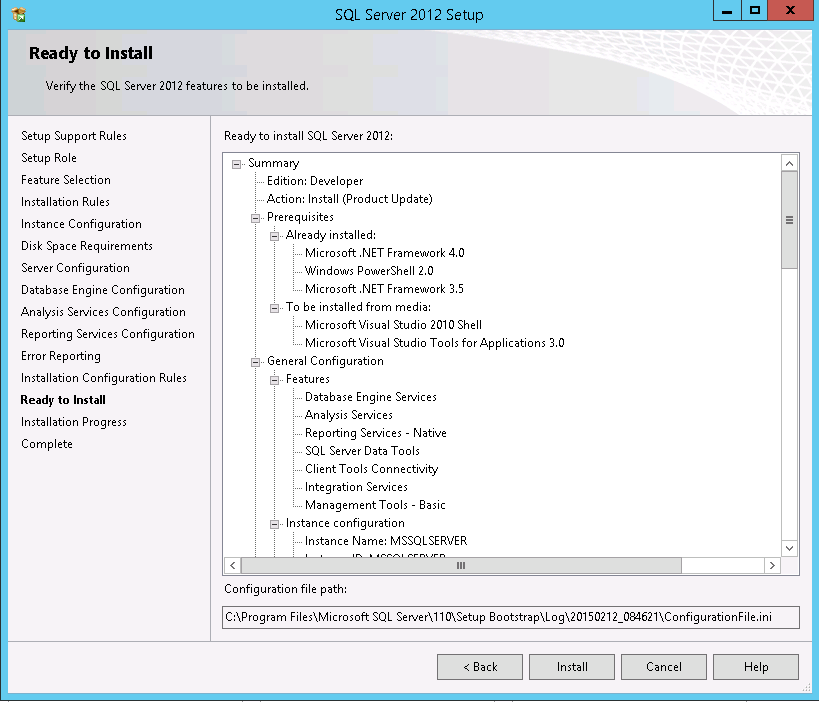
- Select Data Engine Services, Analysis Services, Reporting Services,
SQL Server Data Tools, Client Tools Connectivity, Integration
Services and Management Tools -
Basic
Click Next
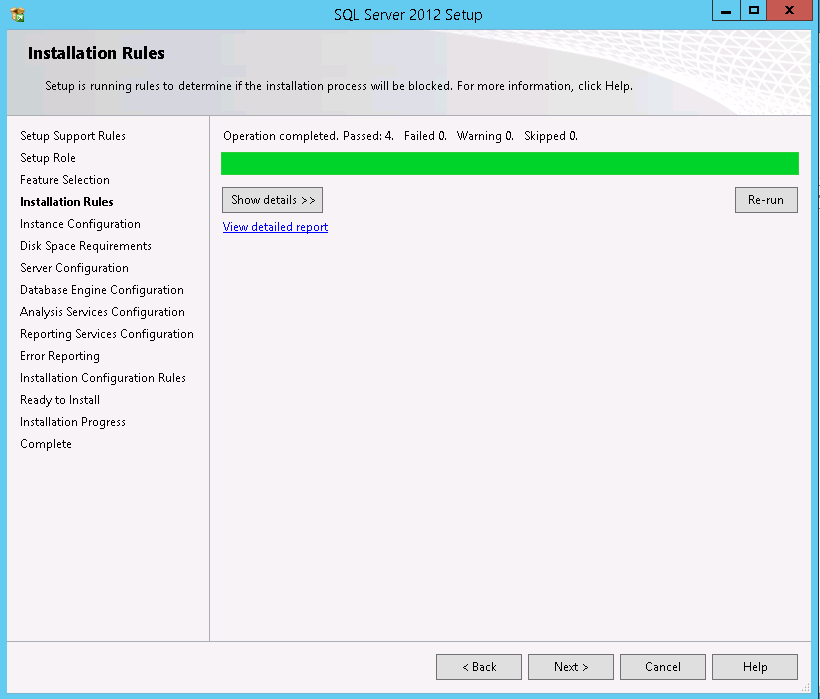
- Check the installation rules and click Next
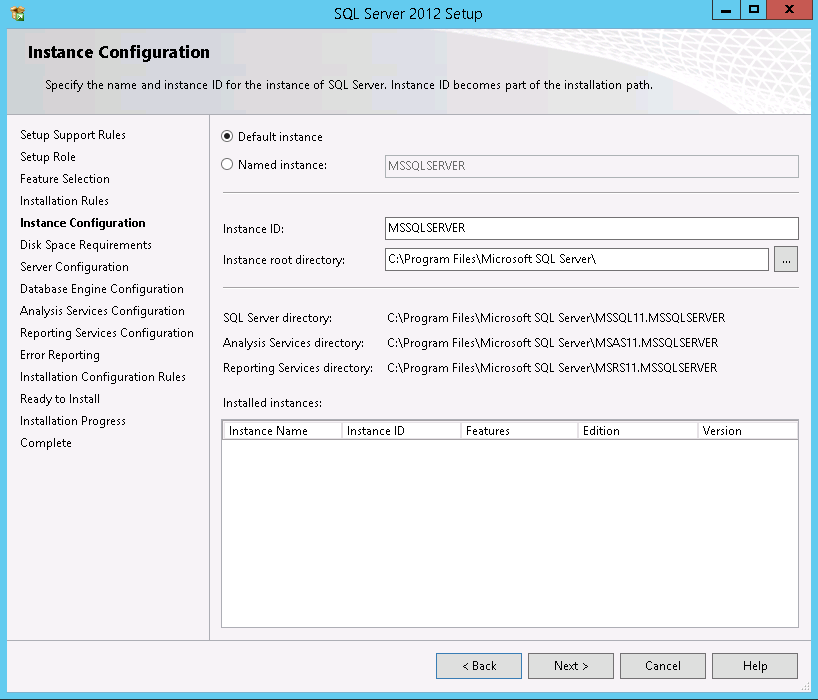
- Select Default Instance and click
Next
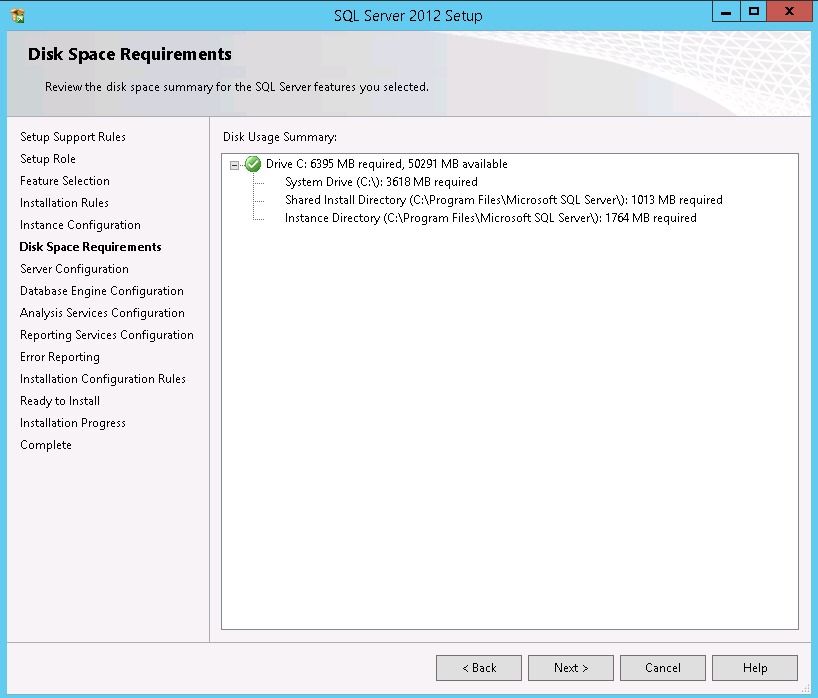
- Check the disk space requirement and click Next
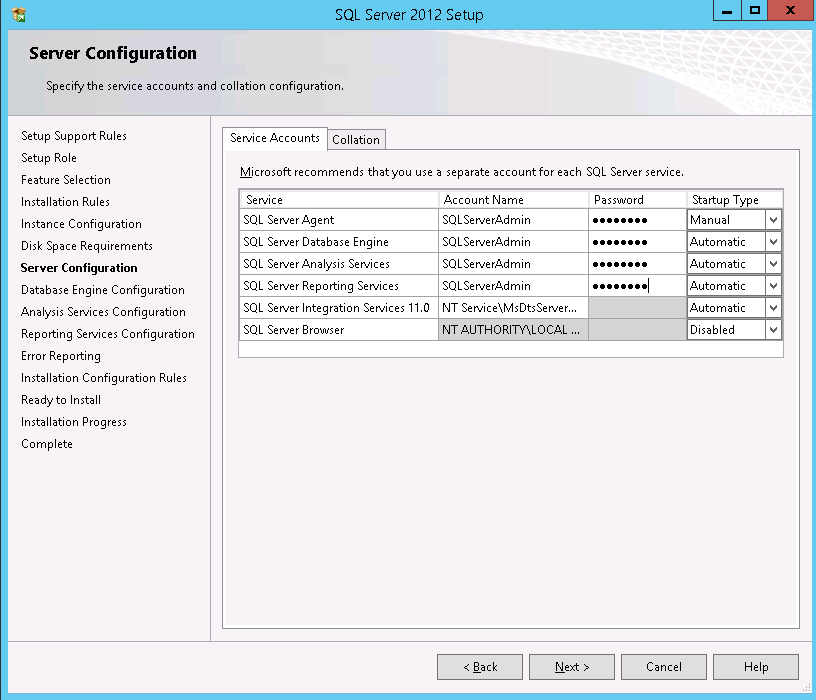
- Specify user account for each service. Microsoft recommends you to specify
an individual account for each service. The service accounts used for this configuration
must have a strong password otherwise you will get the error
Invalid or missing
username or password. To continue, provide valid credentials for the SQL Server
Agent service. A strong password is one that has a combination of letters in
uppercase, lowercase, numbers and special characters.
For more information refer
Setting
up Windows service accounts on MSDN.
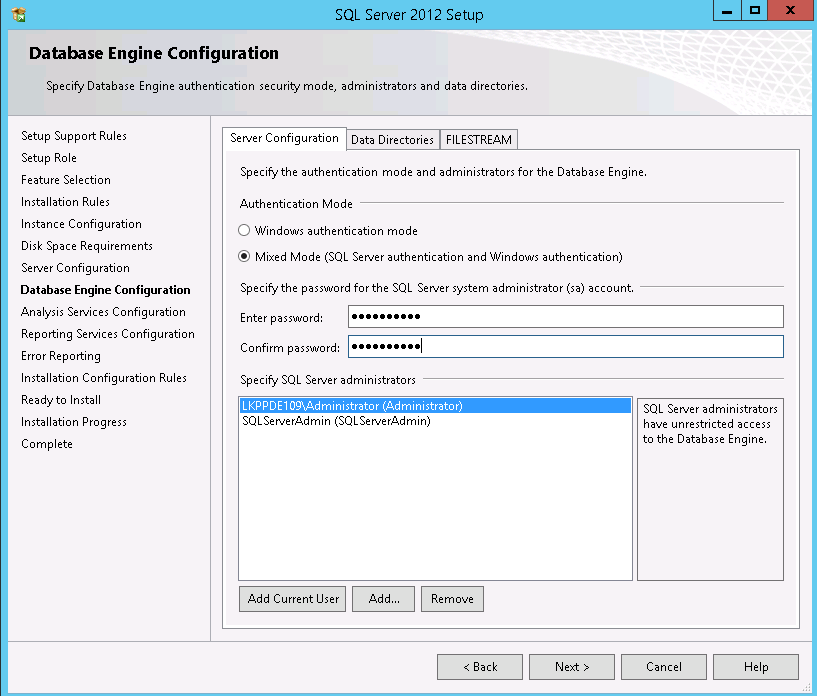
- On the Database Engine Configuration page, choose the authentication
mode to use for your SQL Server installation. Select
Mixed Mode Authentication if using both Windows and SQL Server authentication. Enter and confirm the
password for the system administrator login.
Click Next
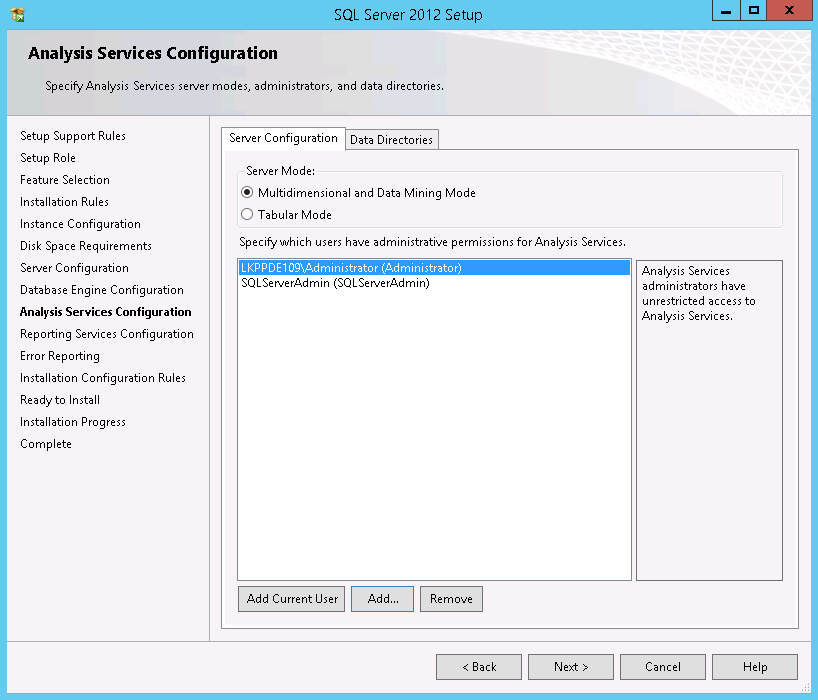
In the Analysis Services Configuration page specify which users have administrative
permission for Analysis Services.
Click Next
- Select Install and configure under
Reporting Services Native Mode.
Click Next

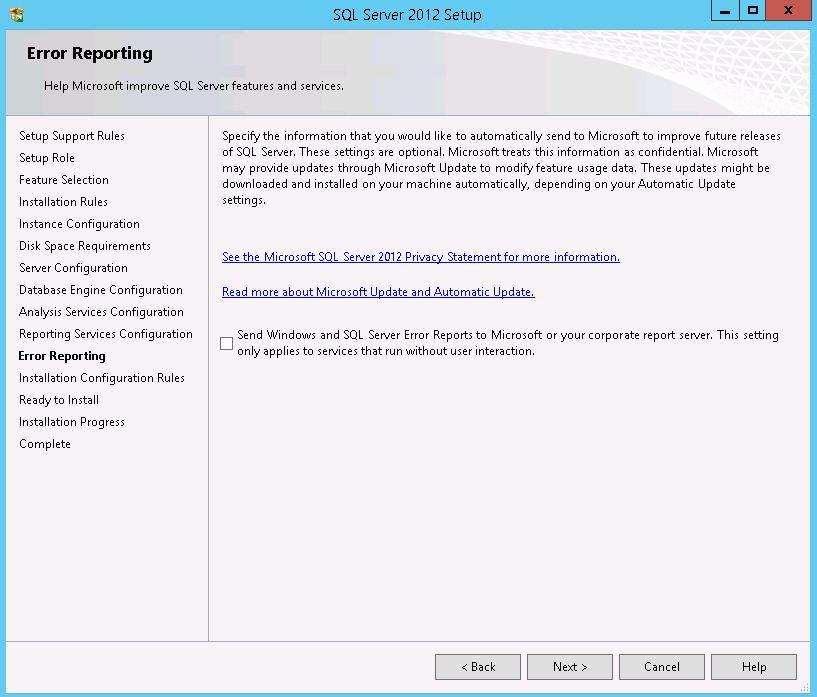
- In the Error Reporting section, read through and click
Next
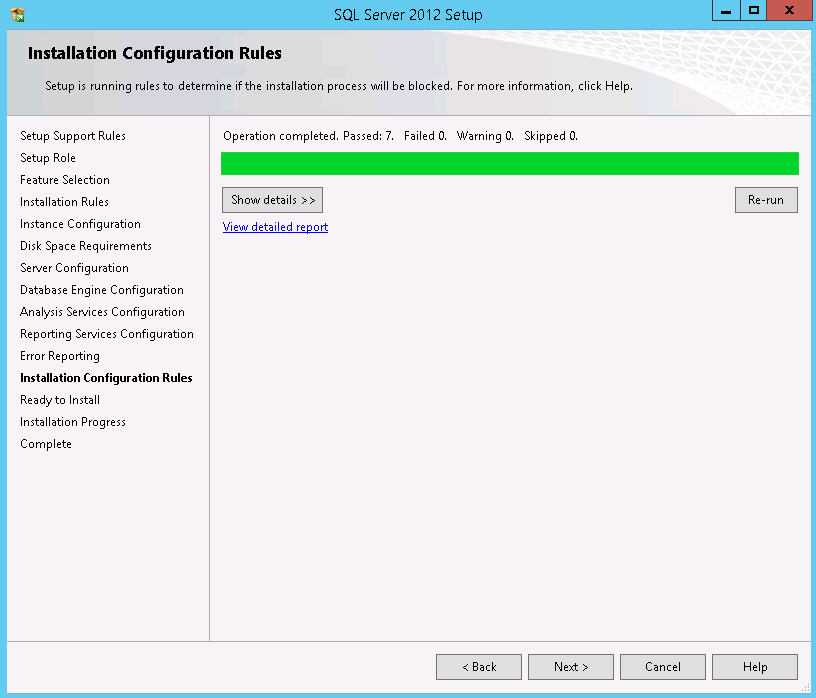
- In the Installation Configuration Rules section, check that everything
is ok.
Click Next
- Check the summary and start installation by clicking
Install
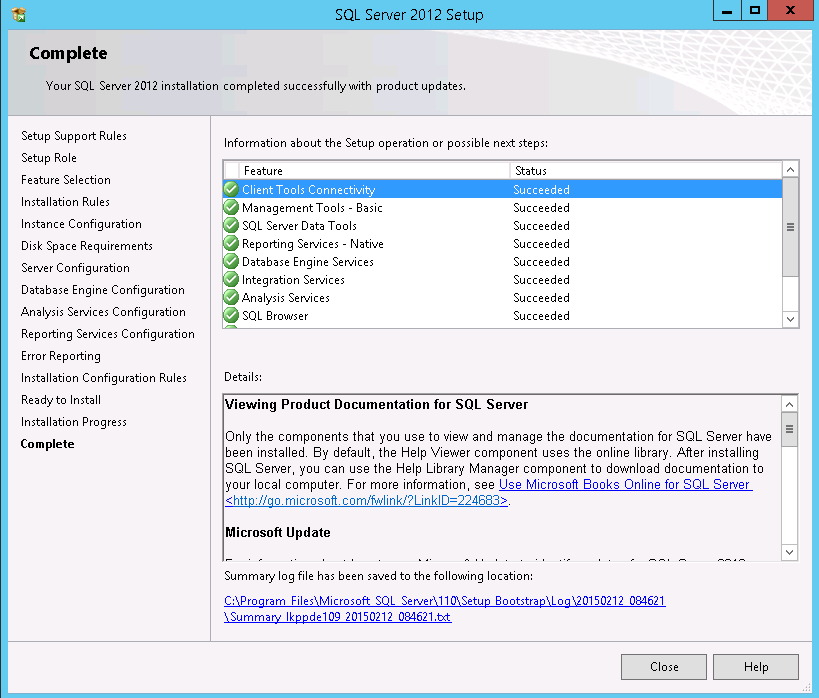
- Installation is completed.
Click Close